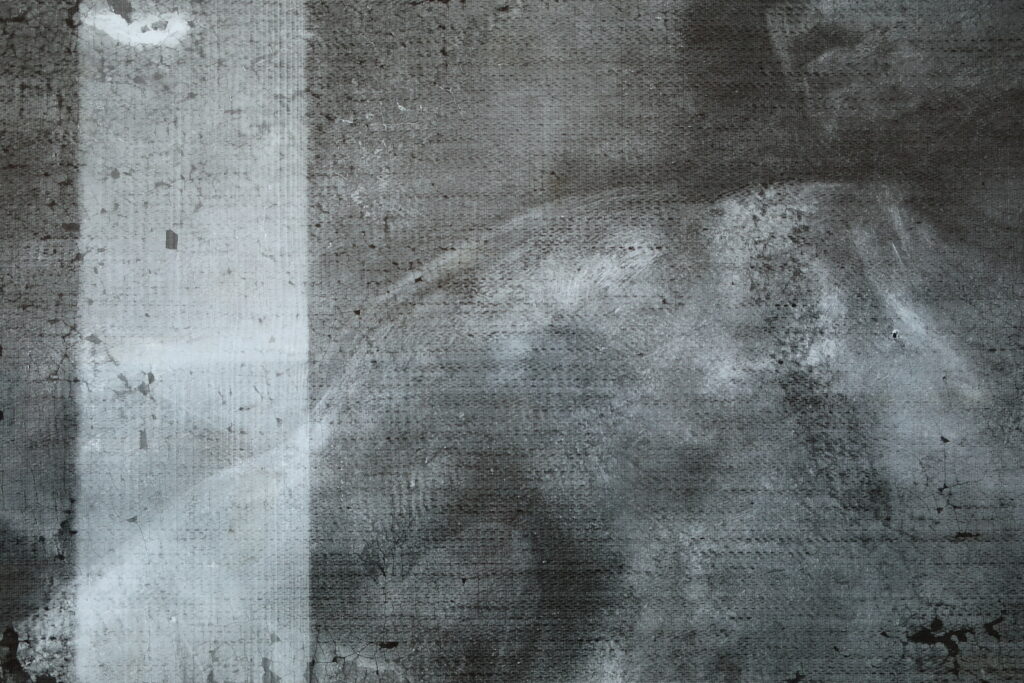
Scientific analysis techniques are used to better understand and identify the composition and constituent elements of a work of art. Several techniques have been developed and are used in specialized laboratories. They fall into two categories: non-invasive techniques (which do not damage the work in any way) and invasive techniques (which directly alter the work).
Scientific techniques for noninvasive analysis
X-ray imaging:
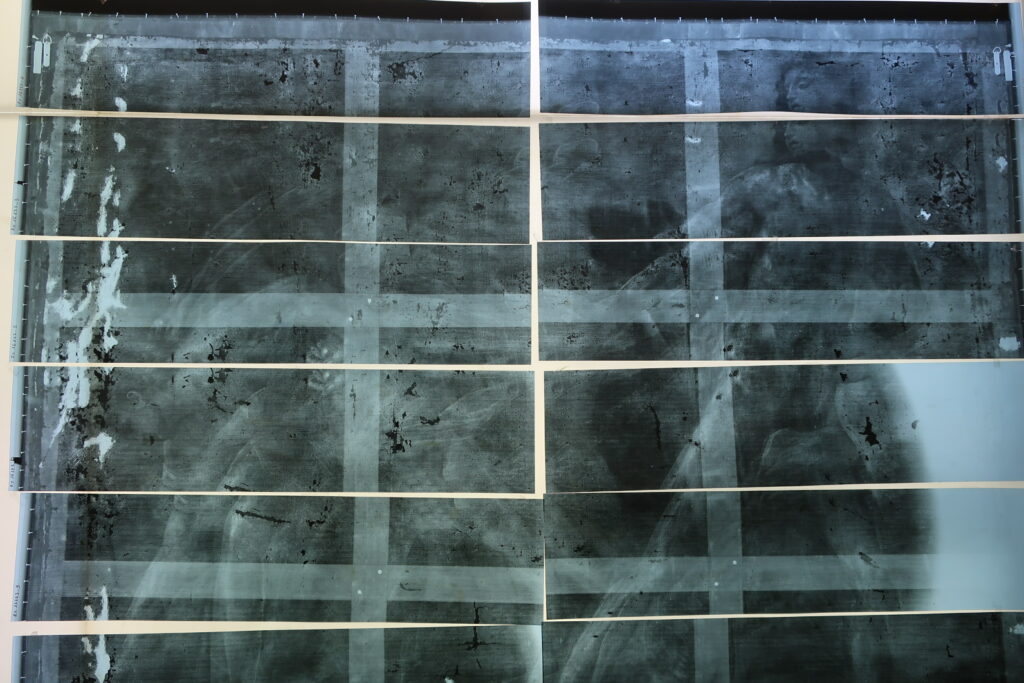
In practice, the object is placed between the X-ray source and a detector; the X-ray beam passes completely through the object and is attenuated depending on the materials and thicknesses it encounters.
The detector can be either film or a digital sensor; it records variations in X-ray absorption as shades of gray. The images are interpreted in negative; thus, dark areas indicate parts of the object that have absorbed little X-ray radiation (areas of thin material and/or low-density materials), while light areas indicate those that have absorbed a great deal of X-ray radiation (areas of thick material and/or high-density materials).
The film images are digitized and assembled by computer to reconstruct a comprehensive X-ray image of the work being studied.
It should be noted that the features present in a 3D object are projected onto a single plane (the film). Therefore, to ensure accurate interpretation of the information obtained, it is necessary to take X-rays from multiple angles (frontal, profile, three-quarter, and top views).
Infrared:
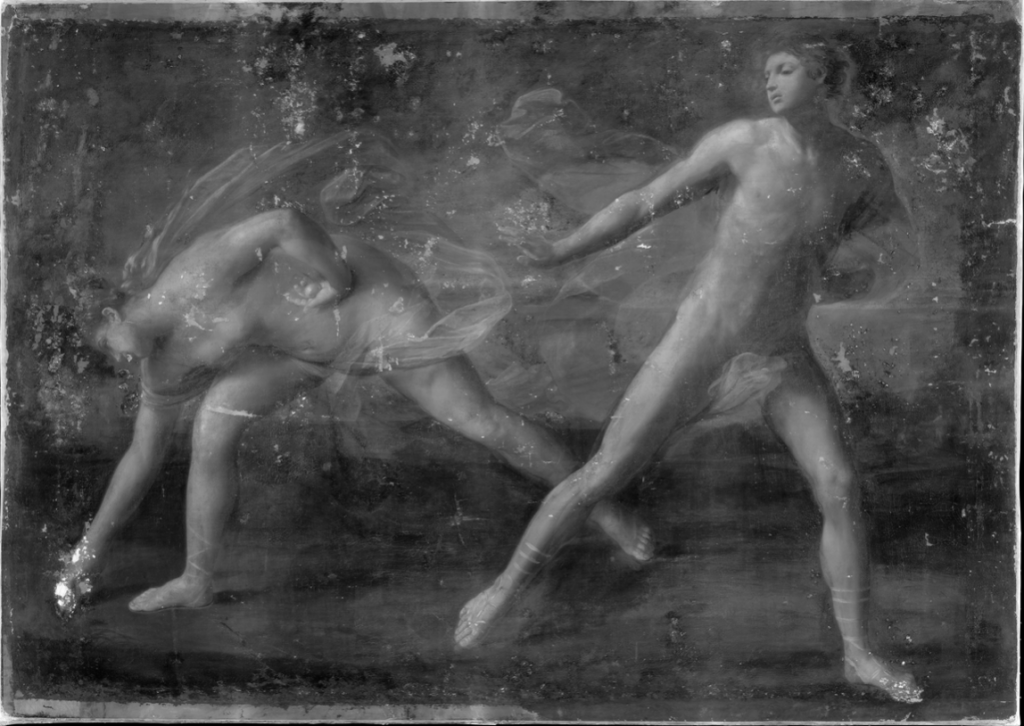
A near-infrared (NIR) reflection image is a recording of the infrared rays reflected by the materials in the photographed artwork. It is a grayscale image and is used to understand the materials of the artwork. Three techniques:
IRFC: False-color infrared imaging. The infrared rays emitted by the lamp and directed at the artwork are reflected or absorbed depending on the nature of the materials and pigments; this is an intrinsic characteristic of the materials. The camera records this response to infrared light. Infrared rays have strong penetrating power and reach all the way to the artwork’s support, passing through the layers of pigments. It is then possible to detect on the support the possible presence of an underlying drawing or alterations made by the artist during the creation process.
IRFC: The IRR image, merged in post-production with the visible-light image, produces an IRFC false-color image. The infrared image is superimposed on the red channel of the visible image, and the red and green channels are offset. This false-color image facilitates the localization and identification of pigments and materials in the artwork, as well as changes in composition and restorations.
IRR: Infrared Reflectance Imaging
IRR: The artwork is photographed using an electronic flash, whose spectrum extends into the visible and infrared ranges up to 1,000 nm. The flashes are positioned at a 45° angle on either side of the paintings. A digital camera without a filter is used—that is, one that is sensitive to infrared light. Placing a filter in front of the lens ensures that only the IR spectrum reflected by the artwork is captured.
IRT: Infrared Transmission Imaging
IRT: Infrared imaging can be performed using the transmission method when the artwork’s complex stratigraphy requires it. The lamps are placed behind the artwork, and the transmitted infrared radiation is recorded.
X-ray Fluorescence

This is a non-invasive, point-by-point analysis that involves directing a beam of X-rays with specific characteristics at a material and measuring the material’s response. The area of analysis will be exactly the same for both techniques.
The data can be processed together or separately. In fact, the two analytical methods are complementary.
Method 1: X-ray diffraction (XRD)
X-ray diffraction (XRD) is an analytical technique based on the diffraction of X-rays by matter, particularly when it is crystalline. This method uses an X-ray beam that, upon striking a material, is scattered in specific directions determined by the wavelength of the X-rays and by the dimensions and orientation of the crystal lattice. The data collected by the X-ray detector form diffraction patterns, or diffractograms, from which it is possible to identify the various components of the material under study using databases.
Method 2: X-ray fluorescence spectroscopy (XRF)
X-ray fluorescence spectroscopy (XRF) involves detecting X-rays—known as secondary X-rays—emitted by a material as a result of its interaction with a beam of primary X-rays. The incident X-rays interact with the electron shells of the atoms that make up the material. This interaction generates secondary X-rays that are characteristic of the nature of the excited atoms. The data collected by the X-ray detector form spectra from which it is possible to identify the chemical elements that make up the material.
UV
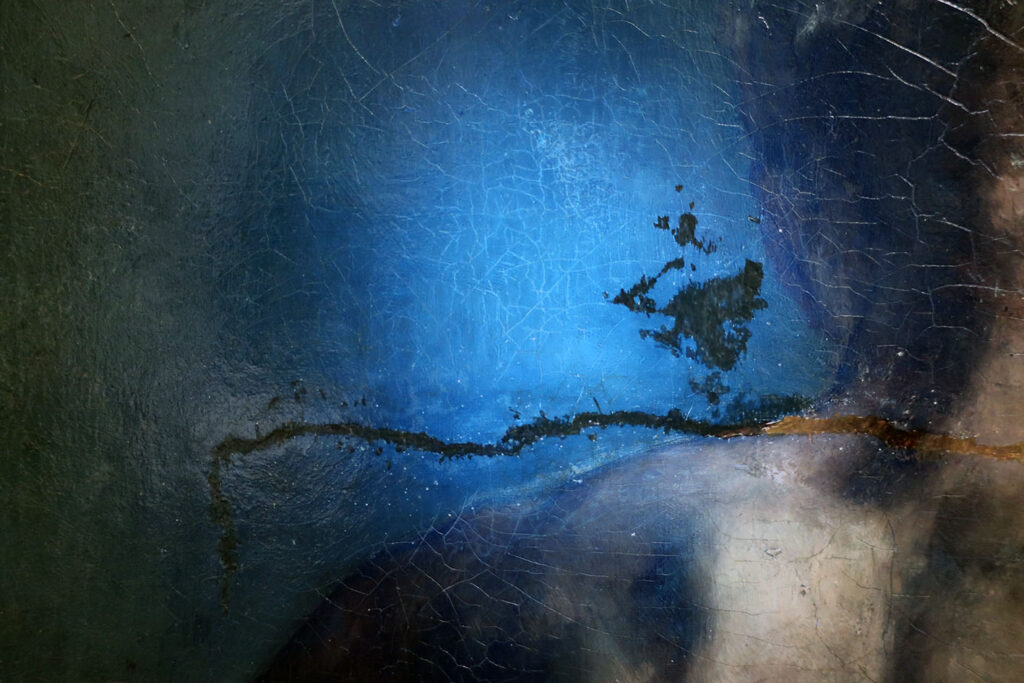
In photography, near-UV or far-UV light (350 to 380 nm) is used. The sources used are “black light” fluorescent tubes that emit UV light as well as a minimal amount of visible light in the blue spectrum.
Reflected UV light: Photographs that capture the reflection of emitted UV light can be used to identify certain pigments in easel paints.
UV-Induced Fluorescence in the Visible Spectrum: Photography that captures the visible fluorescence of materials under UV light is widely used, particularly for varnishes. It allows us to assess the extent of varnish layers, their uniformity or unevenness, their age, and to identify the scope of surface restorations that have already been performed. Recent repainting applied over the varnish appears as black spots that contrast with the varnish’s fluorescence; see the image opposite.
For works with little or no varnish (cave paintings, drawings, ink drawings, frescoes), colored fluorescence characteristic of the pigments used can be observed under UV light. Comparing the color of the pigments in visible light with their response under UV light can help identify them.
Scientific techniques for invasive analysis
Samples
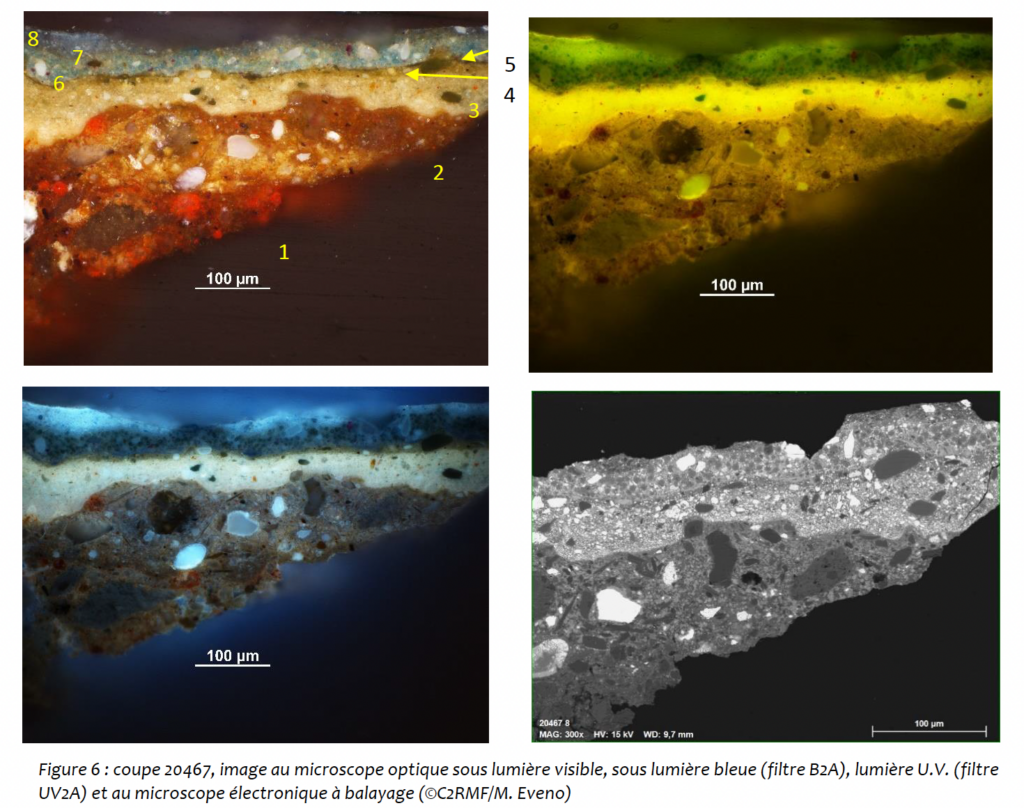
The study of thepaint layer—whether in easel paintings or relief objects (across all periods and on all media)—almost always involves the analysis of micro-samples. Thefirst step in analyzingthese samples is to examine them under an optical microscope. This can be done on loose samples, but it is primarily carried out by creating stratigraphic sections. This involves embedding a fragment of the sample in resin and then cross-sectioning the resulting block until the sample is exposed.
These stratigraphic sections are then examined and photographed at various magnifications (X50, X100, X200, X500), allowing us, through this initial analysis, to visualize the different materials present. Based on the appearance and color of the grains, it is sometimes possible to gain an initial idea of the pigments used, as is the case with azurite, for example. However, the primary purpose of this observation is toexamine the stratigraphy—the sequence of layers applied to the work—in order to better understand not only the techniques used but also the various levels of polychromy. This is particularly important in the case ofmedieval sculpture, which may have undergone numerous restorations.
Sources and photos: C2RMF Laboratory: https://c2rmf.fr/